Image


For PC:
1. First, download (and unzip) the drivers to your computer from the following link: https://drive.google.com/drive/folders/1yThqW3EX4goxl0k_tHvPF-BzSWcxIKAj?usp=sharing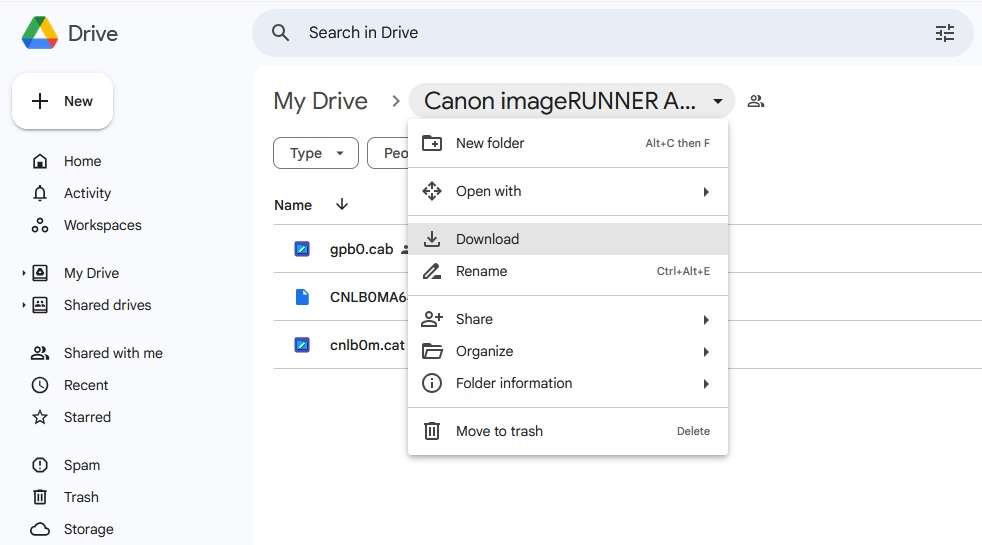
2. Open the Windows Start menu. This is the button in the bottom left corner of your screen that is shaped like the Windows logo.
3. Then click to Settings. This is the gear-shaped icon just above the power button in the Start menu. 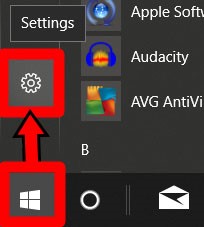
4. Then click on Devices.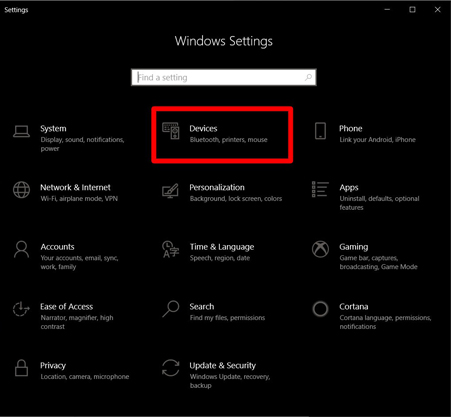
5. Next, select Printers & Scanners. You can find this in the left sidebar.
6. Then click Add a Printer. 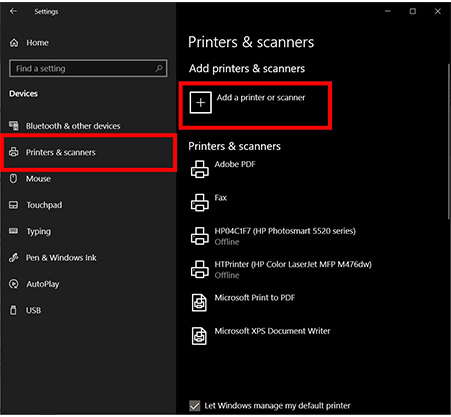
7. Click “The printer that I want isn’t listed.” It will be located towards the bottom of the list. Once you select this, the “Add Printer” screen will pop up. 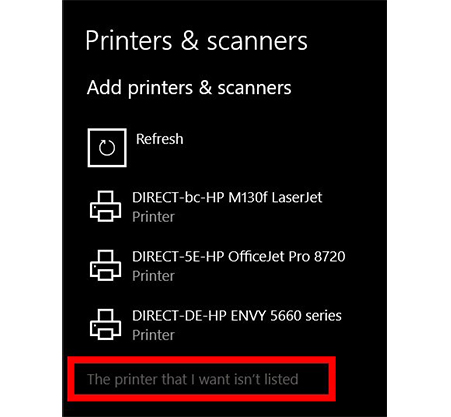
8. Choose “Add a printer using an IP address or hostname” and click next. 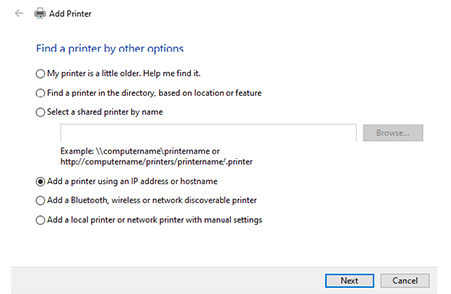
9. Input the IP address of 172.21.69.25, and uncheck "Query the printer and automatically select the driver to use." 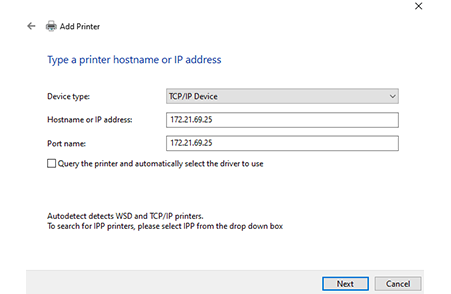
10. Select the appropriate device type. Use "Generic Network Card".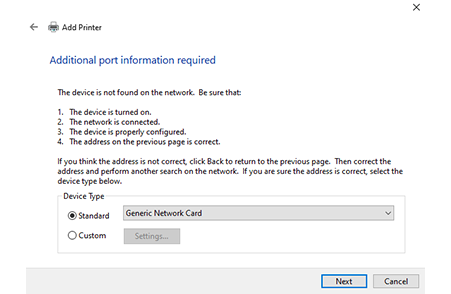
11. Install the print driver. Click on the box that says Have Disk and select the folder where you downloaded the drivers in step #1 above (you may need to uncompress the zip file/folder first), then click on OK.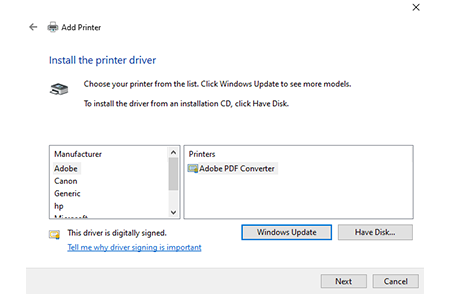
12. Select the printer driver (Cannon Generic Plus UFR II) and then click on Next.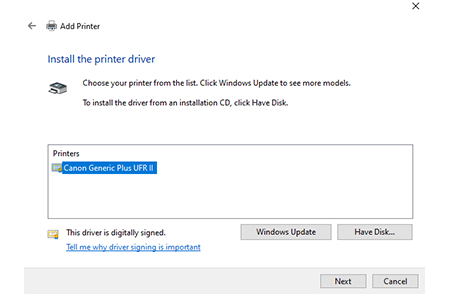
13. On the next screen adjust the printer name to say "Canon imageRUNNER ADVANCE C5560i" and then click Next. In the following window, select Do not share this printer, and then click on Next.
14. You will get a message that you have successfully set up the printer. From here, you can print a test page or click on Finish.
For Mac:
1. First, download the drivers to your computer from the following link: https://drive.google.com/file/d/1X-BXeBwpD-L6FSEI7c3hs6Ho1_PJFlcQ/view?usp=sharing
2. Run the installation file and install the drivers. The installation wizard will appear. Continue the installation process to obtain the set of Canon drivers required for printing.
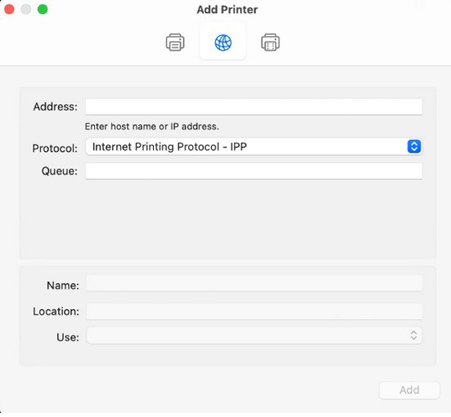
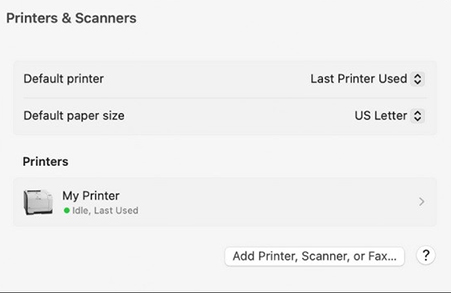
3. Add the printer to your list of available printers: Choose Apple menu > System Preferences, then click Printers & Scanners. Depending on your MacOS version it will look like one of these two below. Then either click the Add button at the bottom of the list or "Add Printer, Scanner, or Fax....". 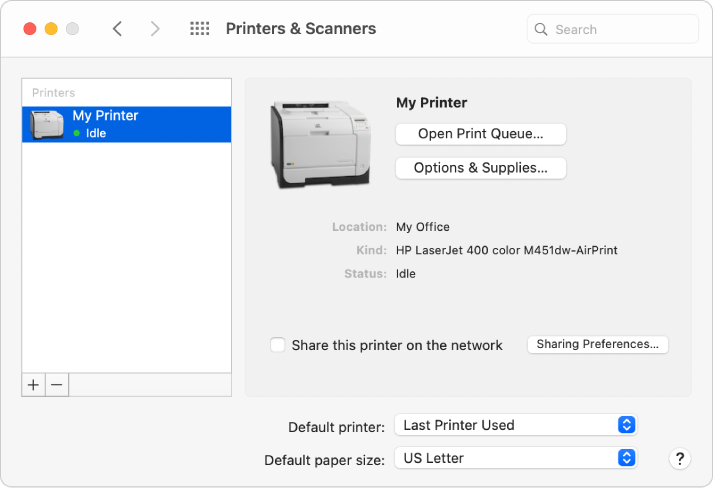
4. Next, add the printer by specifying its IP address. For Protocol, select "Internet Printing Protocol - IPP". For Address, type in 172.21.69.25
Click the Use drop-down menu and choose Select Software from the drop-down list. Scroll through the list of available printer drivers and select "Canon iR-ADV C5550/5560" and click OK.
Click the Add button to complete the installation.